
The handover inspection is the owner’s walk-through of the finished house before the keys change hands. It is the point at which what was drawn, selected and agreed can be compared with what was built. A clear checklist and a written record make it far more useful than a general look around.
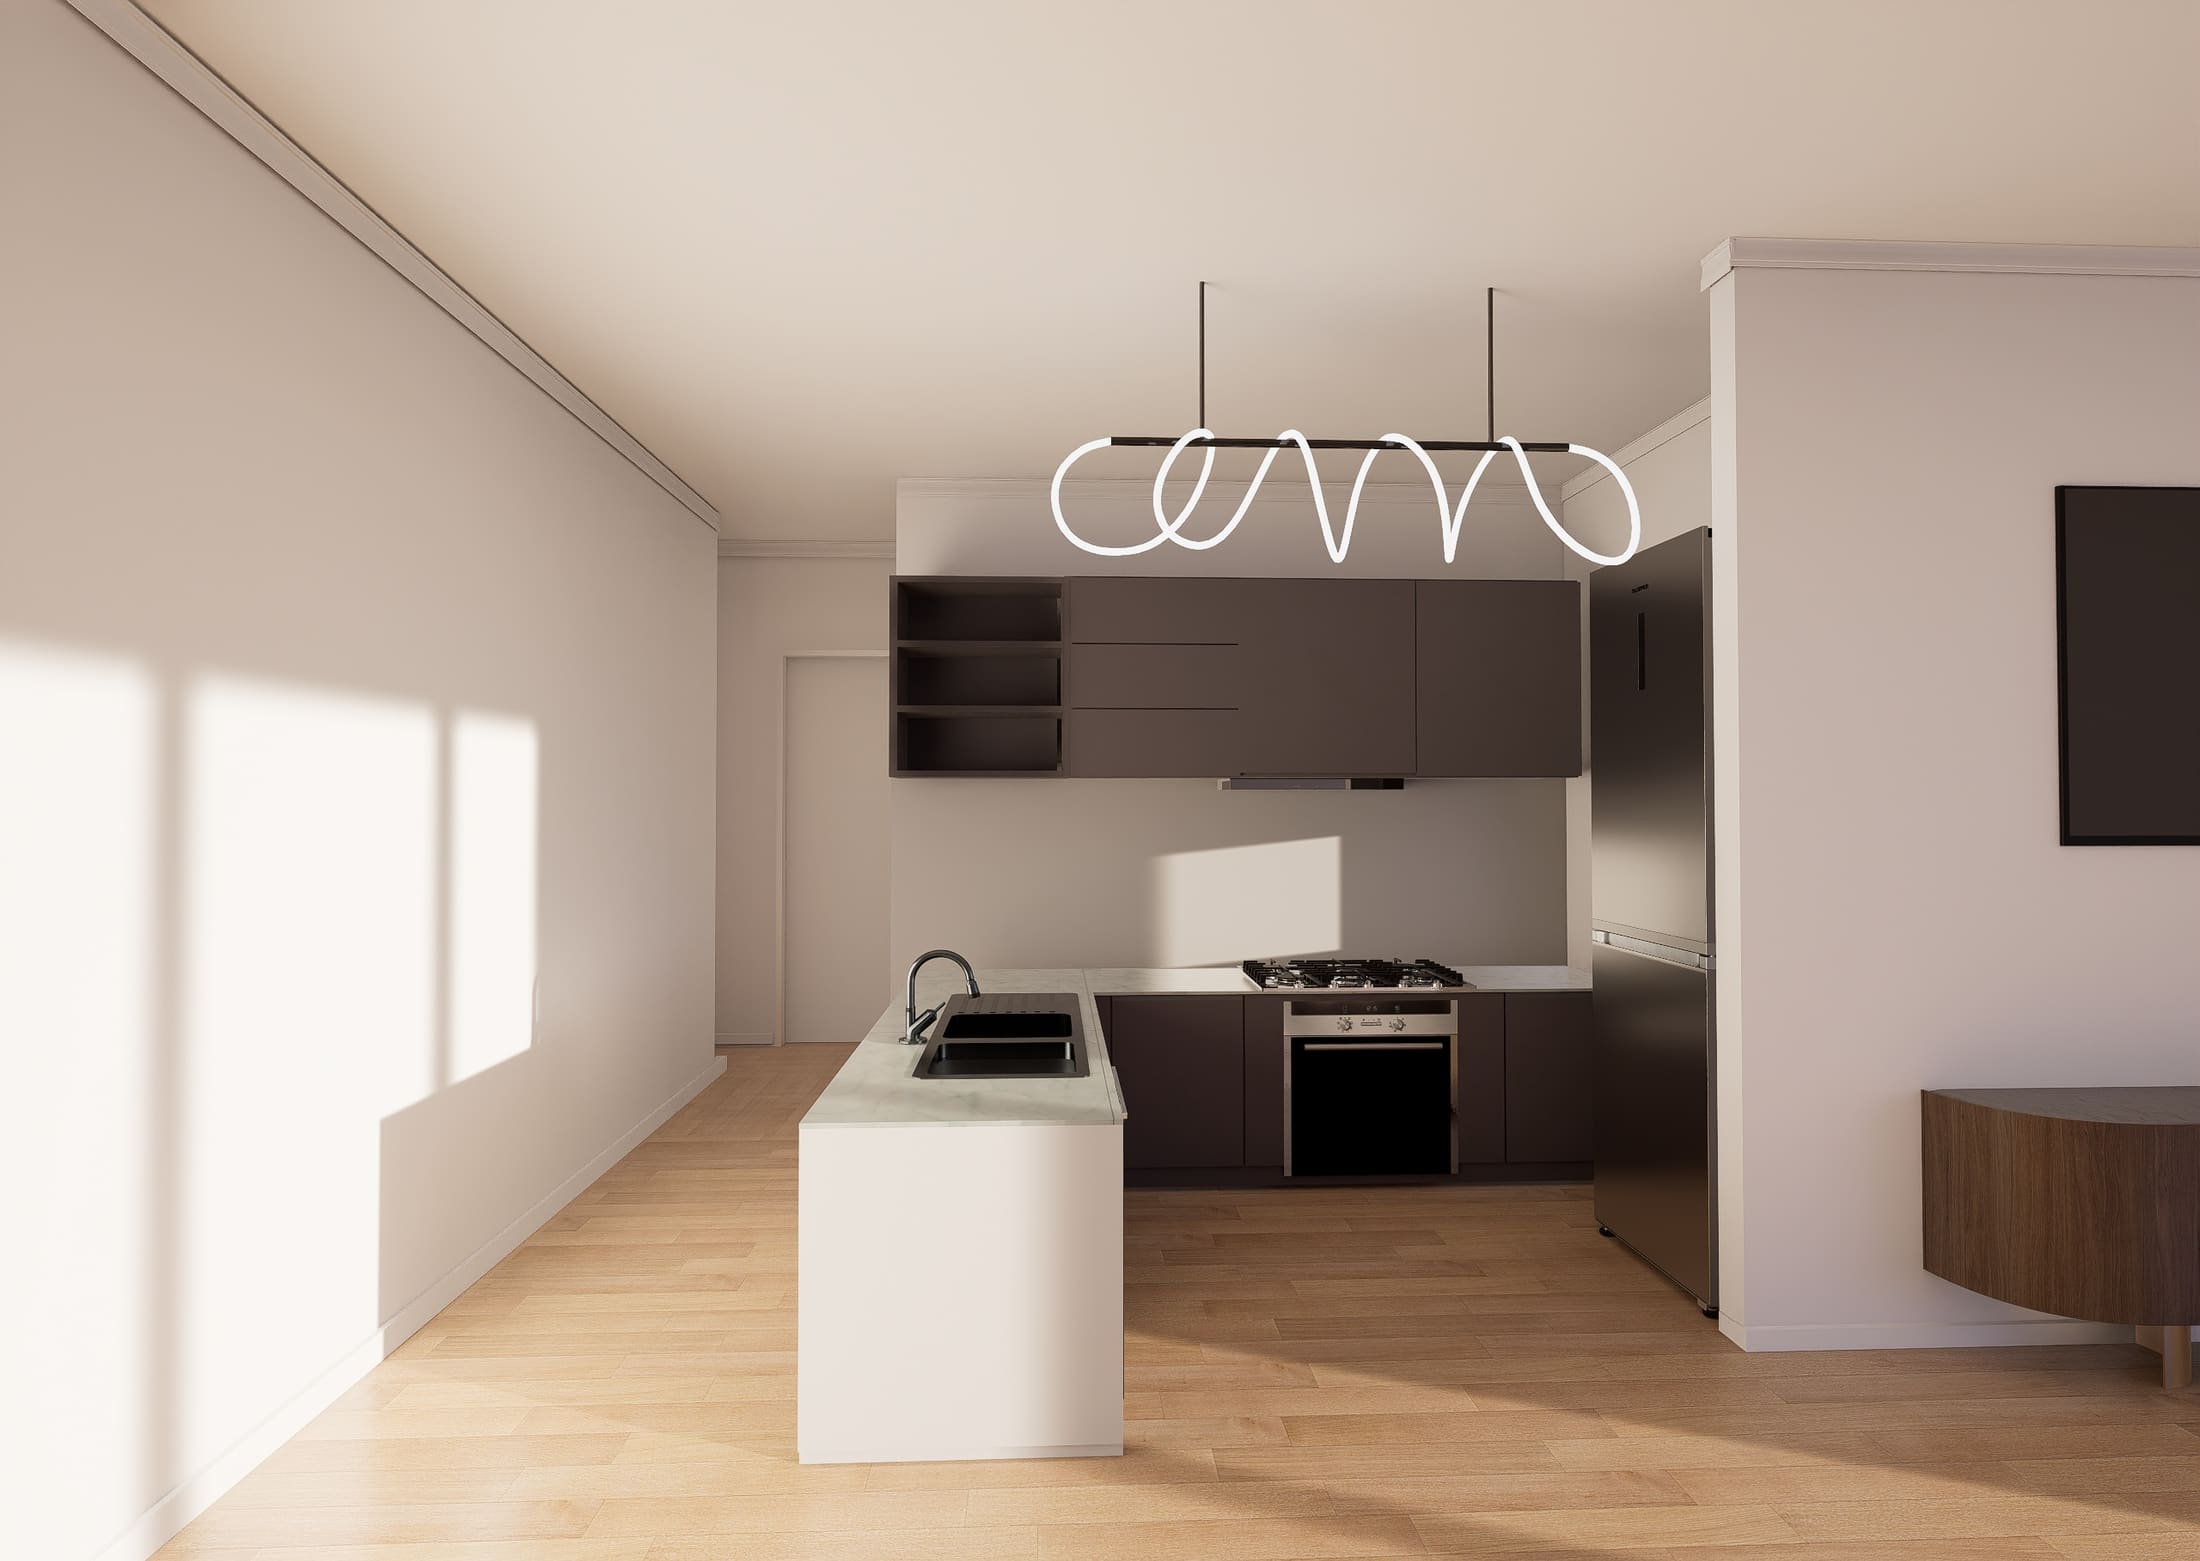
What the handover inspection is for
The inspection has two purposes. The first is to confirm that the house matches the contract documents: the drawings, the specification, the selections and any variations agreed in writing. The second is to identify defects and incomplete items so they can be listed and dealt with.
When it happens, who attends and what follows it are set by the building contract, including how it relates to practical completion. Reading those clauses before the day makes it clear what the inspection is meant to settle.
Bring the paperwork. Comparing finishes against a printed selections schedule is far more reliable than relying on memory of decisions made earlier in the build.
Choose a time with good natural light and go through the house without hurrying. A torch, a notebook or phone for photographs, and a small item to plug into power points are enough equipment.
Outside the house
Walk the outside first, in daylight. Look at the roof edges, gutters and downpipes, and whether downpipes are connected to the stormwater system. Check the cladding, brickwork, render and paint for damage, gaps and uneven finish, and the sealing around windows and external doors.
Look at how the ground has been left around the house, and whether paving and soil fall away from the walls or towards them. Note anything around the base of the walls that the drawings show differently, and check that external taps, lights and power points are where the drawings put them.
Check the items outside the house that the contract includes, such as a driveway, paths, fencing or a letterbox. For items the contract leaves out, such as landscaping, note the boundary clearly so excluded work is not confused with incomplete contracted work.
Inside, room by room
Work through each room in the same order: ceiling, walls, floor, then fittings. Look at plaster and cornices under different light, including with a torch held low along the surface, which shows unevenness a direct view misses. Check paint coverage, especially at corners and around switches.
Open and close every door, window, drawer and cupboard, and lock every lock. Look at floor coverings for lifting, gaps and damage, and at tiling for cracked tiles, missing grout and gaps in silicone at junctions with baths, showers and benchtops.
In the kitchen and bathrooms, look at benchtops for chips and at cabinetry doors for alignment and even gaps. Check that shelves, hinges and drawer runners are fitted and adjusted, and that splashbacks and mirrors are secure and sealed.
Check that each finish, fixture and appliance matches the selections schedule: the colour, the model, the handle, the position. Small mismatches are easiest to raise while the list is being written.
Services: water, power and ventilation
Run every tap, hot and cold, and look under each sink and vanity for drips. Fill and drain basins, the bath and the shower, and watch that water runs away freely and that shower floors fall towards the waste. Flush each toilet.
Switch on every light and test the power points, the exhaust fans and the rangehood. Run the heating and cooling. Press the test button on each smoke alarm. Exhaust fans and ventilation also matter for how a new house manages moisture once it is lived in.
Look at the switchboard and check that the circuits are labelled. Find the water meter, the main water shut-off and the hot water system, and check that data, television and phone points are where the drawings show them.
Where the house has systems that need operating, such as solar panels, a heat pump, ducted heating and cooling or a security system, ask for a demonstration of each one and check that its manual is among the handover documents.
Recording defects so they can be acted on
A defect list is useful when each item can be found and understood by someone who was not there. Give each item a room, a location within the room and a short description, and photograph it. Number the items so that later correspondence can refer to them.
Agree the list in writing at the inspection rather than relying on a conversation. Some owners also engage their own building inspector for this stage; if that is the plan, it is worth confirming with the builder beforehand how it fits the contract’s handover arrangements.
Not everything found at handover is a defect. The contract and warranty documents are the first places to check how defects, maintenance items and normal movement are recorded and reviewed.
Keep a copy of the agreed list with the handover documents. When each item is attended to, a note of what was done and when it was signed off by the owner keeps the record useful later.
After handover: documents and the defects liability period
Handover is also when the documents for the house pass to the owner: manuals, warranties for appliances and products, keys and remotes, and the records of the build. The regulatory documents at the end of an SA build are covered in separate notes that quote the source material.
A defects liability period follows handover. Its length, how defects are reported during it, and how they are dealt with are set by the building contract, so that clause is worth reading before the inspection rather than after it.
Some items only appear once the house has been lived in through a change of season, such as a door that begins to bind or fine cracking in plaster as materials dry out. How such items are reported is set out in the warranty process.
Each Cyberidge build is handed over with a documented handover pack, and structural inspections are scheduled at footing, frame, lock-up and handover.
Common Questions
What should I check at a new home handover inspection?
Outside: roof edges, gutters, downpipes, cladding, render, paint and the ground around the walls. Inside: ceilings, walls, floors, tiling, doors, windows, cabinetry and locks, room by room. Services: every tap, drain, light, power point, fan, appliance and smoke alarm. Then compare each finish against the selections schedule and record anything outstanding in writing.
Is the handover inspection the same as the practical completion inspection?
The term is commonly used for the owner’s inspection held as the work reaches practical completion, before the keys are handed over. Whether the two are one walk-through or two on a particular job, and what practical completion means for it, are set by the building contract.
How should defects be recorded at handover?
As a numbered list, with a room, a location and a short description for each item, and a photograph. The list is agreed in writing at the inspection so that later correspondence can refer to each item.
How long is the defects liability period?
Its length is set by the building contract, along with how defects are reported and dealt with during it. That clause is the one to read before the handover inspection.
Should I bring my own building inspector to the handover?
Some owners do. Whether and how an owner’s inspector attends is worth confirming with the builder beforehand against the contract’s handover arrangements, so that the inspector’s findings can be recorded in the same written list.
Want to see how a build is inspected and handed over before you start? Start with a free initial consultation.